Catch the aroma of crispy golden-brown salmon cakes wafting through your kitchen; it’s like a warm hug from the ocean itself. With each bite, you experience the delightful crunch giving way to tender fish and savory spices that dance on your palate. Yes, my friend, this is what happiness tastes like—especially when it comes from a can of salmon.
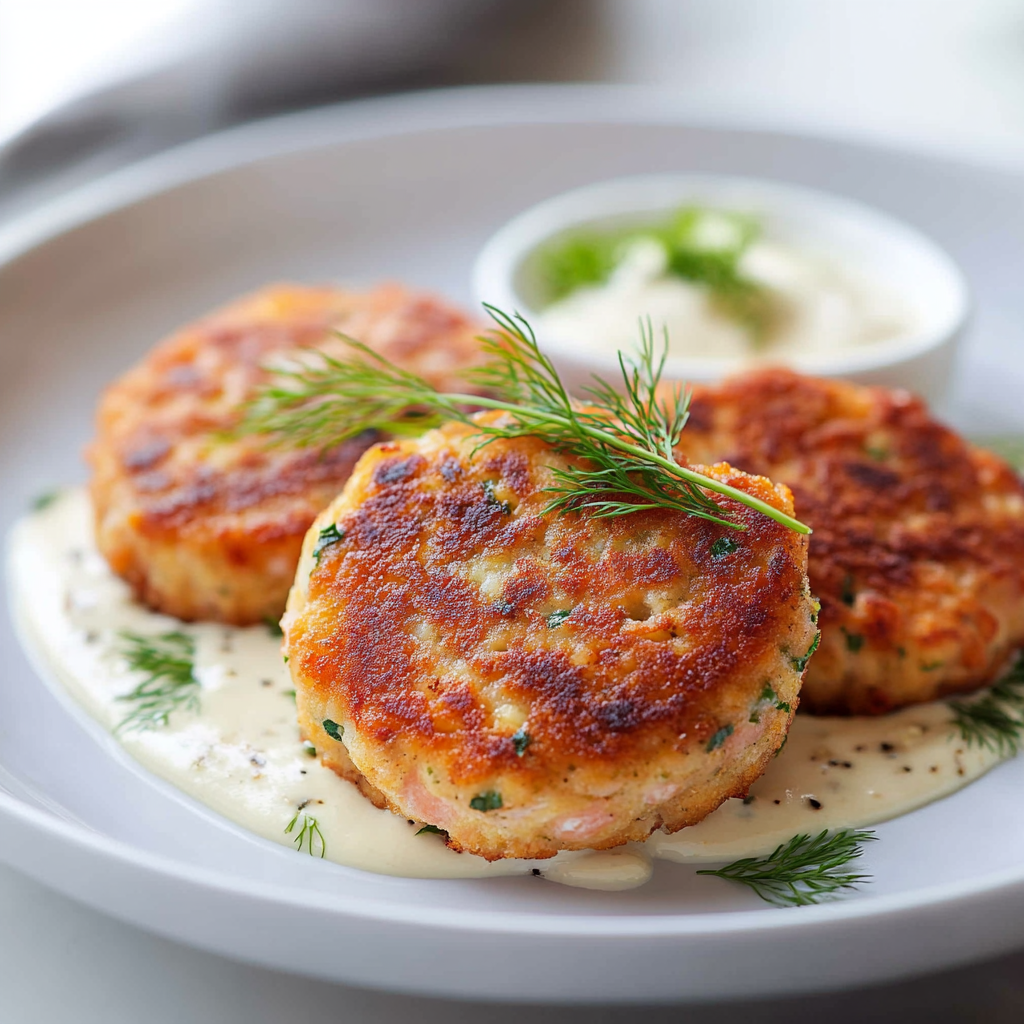
Let me take you on a journey through my kitchen where I turned a simple can of salmon into these culinary masterpieces. Whether it’s a casual weeknight dinner or an elegant gathering with friends, these easy-to-make salmon cakes will have everyone asking for seconds—and maybe even thirds!
Why You'll Love This Recipe
- This recipe turns ordinary canned salmon into something extraordinary with minimal effort
- It’s packed with flavor and visually appealing on any plate
- These versatile cakes can be served as appetizers, main courses, or even in sandwiches
- Plus, they come together in under 30 minutes!
I remember the first time I made these delightful cakes for my family; there were smiles all around the dinner table as my kids devoured them without pause.

Essential Ingredients
Here’s what you’ll need to make this delicious dish:
- Canned Salmon: Choose high-quality canned salmon; look for wild-caught varieties for better flavor and nutrition.
- Breadcrumbs: Use plain or seasoned breadcrumbs to help bind the mixture; panko will add extra crunch.
- Eggs: Fresh eggs help bind the ingredients together; one large egg usually does the trick.
- Green Onions: Fresh green onions add a mild onion flavor and vibrant color; chop them finely for even distribution.
- Garlic Powder: This adds depth of flavor without overpowering the dish; just a teaspoon goes a long way.
- Lemon Juice: Fresh lemon juice brightens up the flavors; don’t skip it!
- Seasonings: Salt and pepper are essential; feel free to add your favorite herbs like dill or parsley for extra flair.
- Oil for Frying: Choose a neutral oil like vegetable or canola oil to fry these beauties until golden brown.
The full ingredients list, including measurements, is provided in the recipe card directly below.
Let’s Make it Together
Prepare Your Workspace: Gather all your ingredients and tools—mixing bowls, measuring cups, spatula, and frying pan should be ready.
Combine Ingredients in a Bowl: In a large mixing bowl, combine drained canned salmon, breadcrumbs, chopped green onions, garlic powder, and egg. Mix thoroughly until everything is well incorporated.
Add Flavor Enhancers: Squeeze fresh lemon juice into the mixture along with salt and pepper. If you’re feeling adventurous—add some fresh herbs like dill or parsley!
Form Patties with Your Hands: Using your hands (or two spoons if you prefer cleanliness), form small patties about 2 inches wide. Make sure they are not too thick so they’ll cook evenly.
Heat Oil in Skillet: Add oil to a skillet over medium heat until hot but not smoking. You want that sizzle when the patties hit the pan!
Cook Until Golden Brown: Carefully place patties in heated oil and cook for about 4-5 minutes per side until golden brown and crispy. Flip gently using a spatula.
Now you’ve got those gorgeous little cakes ready to impress anyone who dares challenge your culinary prowess!
Serve them warm with tartar sauce or on top of a bed of mixed greens drizzled with vinaigrette for an extra zing.
Salmon cakes with canned salmon are not just easy; they’re also incredibly satisfying! Each bite transports you back to simpler times when cooking was about joy rather than stress—so grab that can of fish and get cooking today!
You Must Know
- Salmon cakes with canned salmon are not just a meal; they’re a culinary hug
- These delightful cakes offer a quick, nutritious option that transforms simple ingredients into something magical
- The crispy exterior contrasts perfectly with the tender filling, making them irresistible for any occasion
Perfecting the Cooking Process
Start by mixing your ingredients thoroughly to ensure even flavor distribution. Form the mixture into cakes and let them chill for 30 minutes before cooking. This helps them hold their shape and enhances texture during frying.

Add Your Touch
Feel free to swap out herbs or add spices you love! A dash of Old Bay seasoning or some fresh dill can elevate your salmon cakes. You might even try adding diced jalapeños for a spicy kick.
Storing & Reheating
Store your leftover salmon cakes in an airtight container in the fridge for up to three days. To reheat, place them in a skillet over medium heat for about five minutes on each side until warmed through.
Chef's Helpful Tips
- Use fresh lemon juice for brightness and flavor enhancement; it really perks up those salmon cakes!
- Ensure your oil is hot enough before frying to achieve that golden crispiness we all love
- Don’t overcrowd the pan; this ensures even cooking and prevents steaming
My first batch of salmon cakes was a glorious disaster. I forgot to chill them, and they fell apart in the pan! But after some laughter (and cleaning), I nailed it on round two, making everyone ask for seconds.

FAQ
Can I use fresh salmon instead of canned?
Absolutely! Just ensure you cook it thoroughly before mixing into the batter.
How do I get my salmon cakes crispy?
Ensure your oil is hot enough before adding the cakes and don’t crowd the pan.
What can I serve with salmon cakes?
Serve with a zesty tartar sauce or a fresh salad on the side for balance.
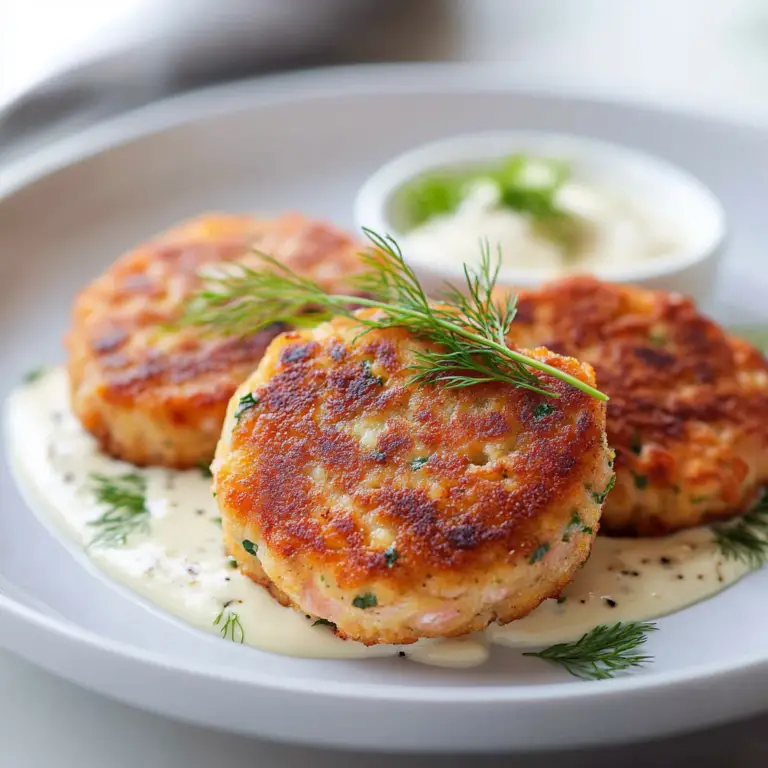
Delicious Salmon Cakes with Canned Salmon
Delight in these crispy and flavorful salmon cakes made with canned salmon, perfect for quick meals or gatherings. Quick to prepare, they’re a crowd-pleaser that everyone will love.
- Total Time: 20 minutes
- Yield: Approximately 6 servings 1x
Ingredients
- 1 can (14.75 oz) high-quality canned salmon, drained
- 1 cup breadcrumbs (plain or panko)
- 1 large egg
- 2 green onions, finely chopped
- 1 teaspoon garlic powder
- 2 tablespoons fresh lemon juice
- Salt and pepper to taste
- Oil for frying
Instructions
- In a large bowl, mix drained canned salmon, breadcrumbs, chopped green onions, garlic powder, and egg until well combined.
- Add fresh lemon juice, salt, and pepper; optional fresh herbs like dill or parsley can be included.
- Shape the mixture into small patties (about 2 inches wide) using your hands.
- Heat oil in a skillet over medium heat until hot but not smoking.
- Fry the patties for 4-5 minutes on each side until golden brown and crispy.
- Prep Time: 10 minutes
- Cook Time: 10 minutes
- Category: Main
- Method: Frying
- Cuisine: Seafood
Nutrition
- Serving Size: 1 cake pop (45g)
- Calories: 150
- Sugar: 0g
- Sodium: 350mg
- Fat: 7g
- Saturated Fat: 1g
- Unsaturated Fat: 6g
- Trans Fat: 0g
- Carbohydrates: 12g
- Fiber: 1g
- Protein: 12g
- Cholesterol: 50mg


